Wings Snob Wings Snob Nashville hot chicken, mild to Reaper
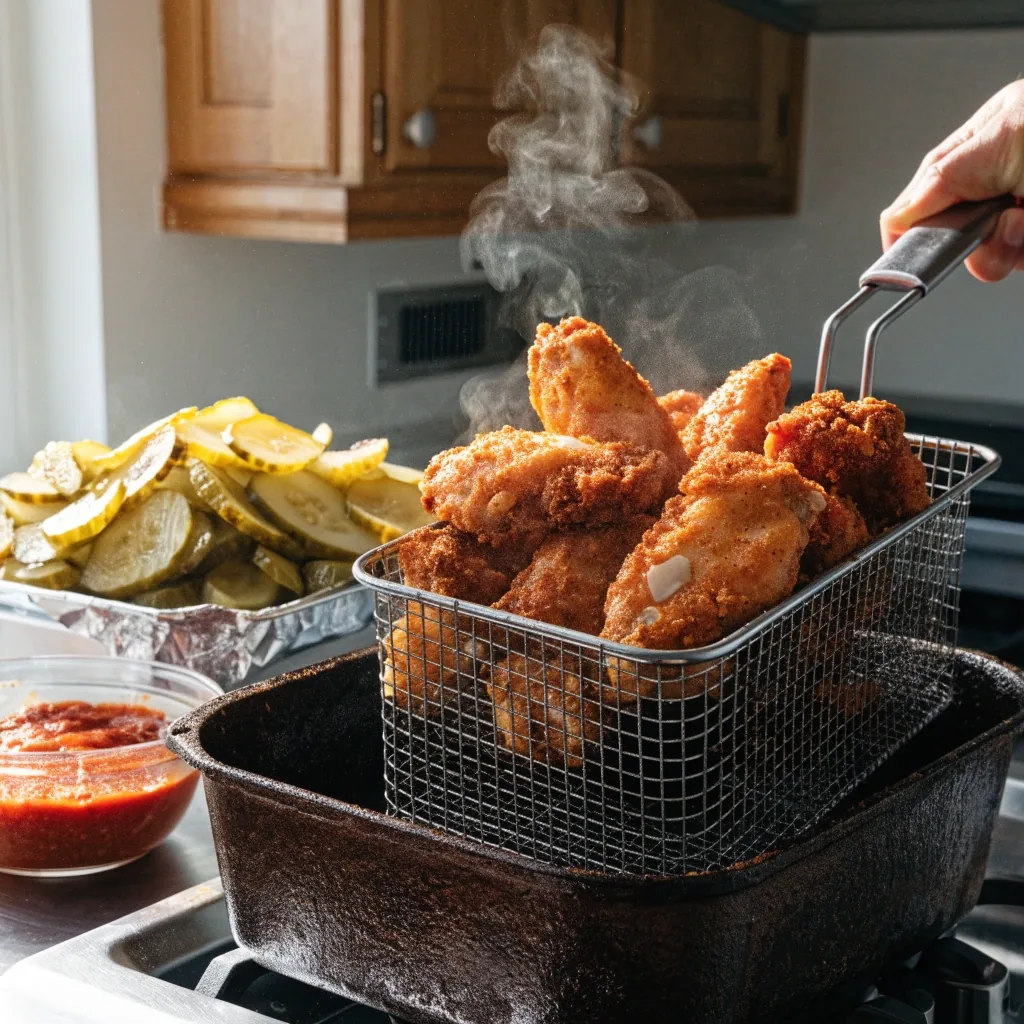
Freshly fried Nashville hot chicken wings lifted from the fryer beside a bowl of spiced paste

Wings Snob course

The Full Nashville Hot Chicken Curriculum

This page is the lesson-by-lesson map of the Wings Snob course. It shows the order you cook in, what each module covers, and how the heat ladder is introduced. No mystery modules and no filler weeks. If you want to know exactly what you will be making before you enroll, read down the list.

How the course is sequenced

The curriculum moves in one direction: coating first, heat second, formats third. That order is deliberate. If your dredge does not adhere and your oil temperature swings, no amount of good spice paste will save the plate.

Early modules are about the fry. Later modules are about sauce, heat level, and plating. You can rewatch any lesson, but the sequence is built to be followed. Nine modules sit between you and a plate of Nashville hot chicken you can repeat on a Tuesday night, and each one assumes you finished the last.

Coating first

Brine, dredge, rest, and fry hold the whole course together. Nothing later works if the crust fails.

Heat second

The spice paste and the heat ladder come once the fry is reliable.

Formats third

Tenders, sliders, and wings get their own modules so each cut gets real attention.

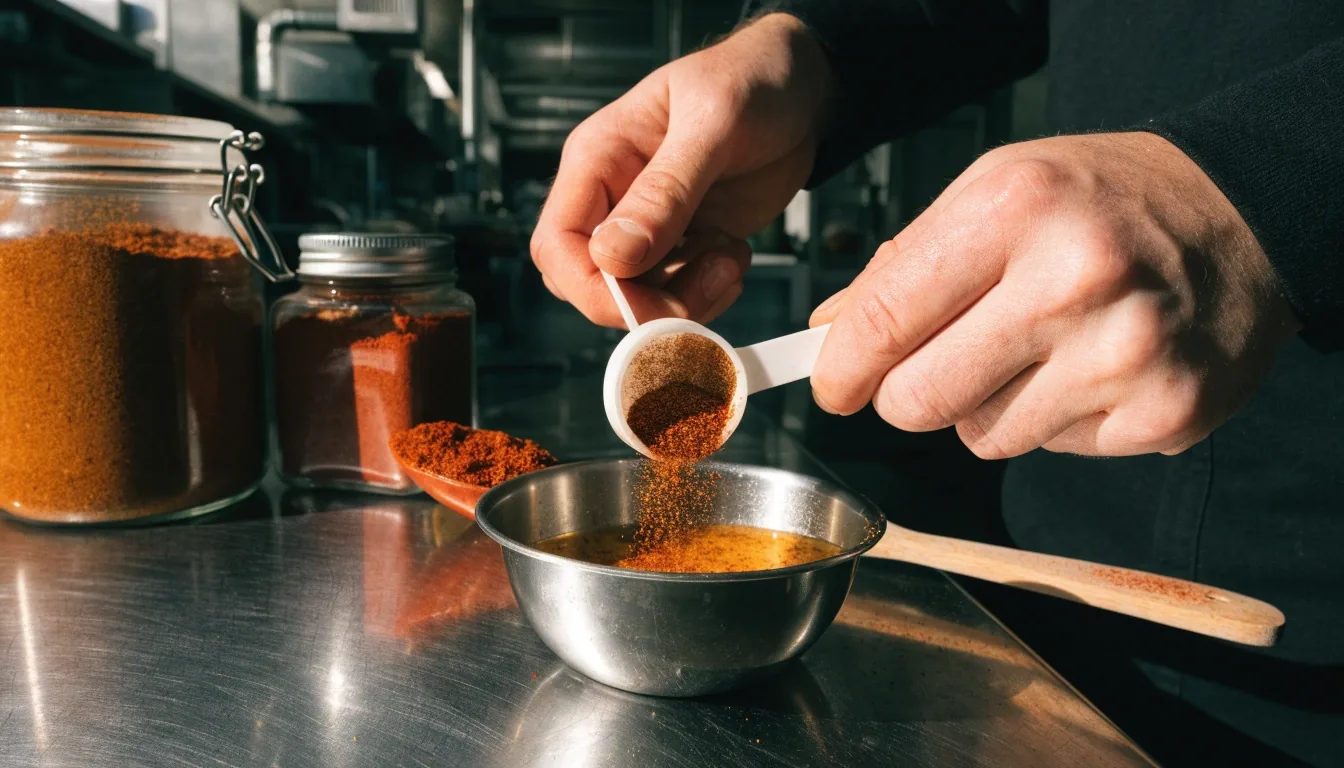
Hands stirring cayenne and brown sugar into warm spiced oil on a steel kitchen counter

The heart of the style

The spice paste is what makes it Nashville hot chicken

The paste is applied after frying, not before, and that single decision separates this style from generic spicy fried chicken. You will learn how to bloom spices in warm oil, how much brown sugar to use for balance, and how to taste the paste on its own before it ever touches the chicken.

Module three covers this in full. Come into it with a reliable fry and the paste becomes the fun part.

Read the heat ladder guide

Module by module

What each module covers, in the order you cook it

Read the modules as a path rather than a menu. The first two build the crust, the middle three build flavor and heat, and the last four put that work onto a plate.

Module one

The brine and the bird

This module covers cut selection for tenders, sliders, and wings, plus the brine that keeps meat juicy under a heavy coating. You will learn why a thin tender overcooks faster than a wing, how long each cut should sit in the brine, and how to dry the surface before dredging so the coating grips instead of sliding off in the oil.

Buttermilk, salt, and a little hot sauce do most of the work here. The lesson on drying is the one students rewatch most, because a wet surface is the quiet reason a crust fails.
Module two

Dredge, rest, and fry

Here you build the crust. The lessons cover a two-stage dredge, why a short rest before frying matters, and how to hold oil temperature when cold chicken goes in. You will also work through the two most common failures: pale, greasy crust from oil that dropped too low, and a shell that tastes burnt before the inside is cooked.

A thermometer is the only tool you cannot skip in this module. Watching the number, not the bubbles, is what makes the fry repeatable.

Module three

The spice paste

This is the heart of Nashville hot chicken. The paste is what separates the style from generic spicy fried chicken, and it is applied after frying. You will learn how to bloom spices in warm oil, how much brown sugar to use for balance, and how to taste the paste on its own before it ever touches the chicken.

We also cover the mistake of adding the paste too early. Spooned over hot crust, it soaks in and stays glossy. Poured on cold chicken, it sits on top and never melds.

Module four

The heat ladder

The course walks the ladder one rung at a time: mild, medium, hot, extra hot, and Reaper-level. Each level is a scaled version of the same base, so you are adjusting amounts and layering chilis rather than learning a new recipe from scratch. Reaper-level heat is presented as an extreme tier for challenge cooking, not as a default serving suggestion.

Most students settle two rungs below where they thought they would. That is fine. The point of the ladder is that you can move up or down on any batch once you know the base.

Module five

Signature sauces

Sauce builds sit alongside the paste. You will make a classic spiced oil coating, a creamier sauce for sliders, and a wing glaze that clings without turning the crust soft. The lessons explain what each sauce is for and why some belong on a tender and others belong on a wing.

The creamy sauce is deliberately thin. A heavy sauce is what turns a slider bun to paste, so the module shows the consistency to aim for and how to bring it back if you overshoot.

Module six

Tenders

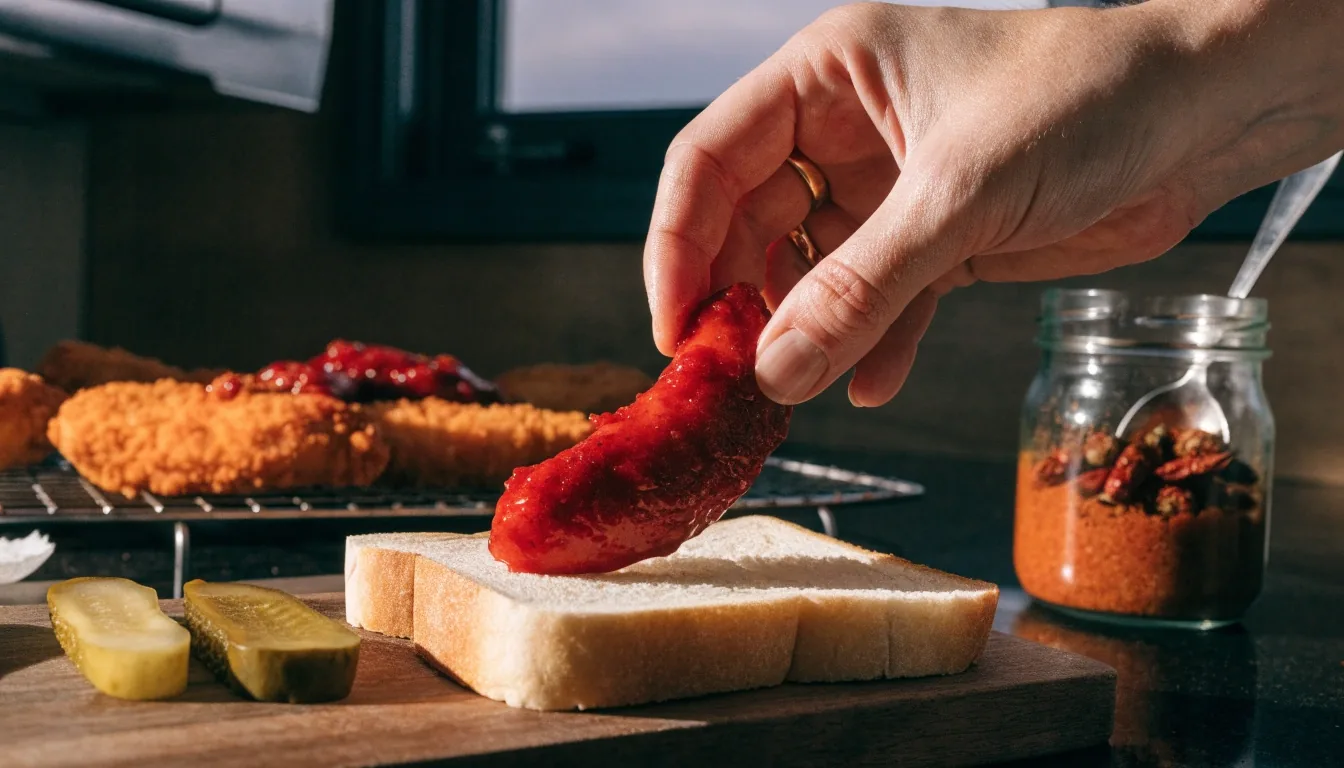
Tenders get their own module because the margin for error is small. You will work on thickness, even coating, and pull timing, then plate with white bread and pickles so the spiced oil has somewhere to go. The goal is a tender that is crisp on the outside and still juicy at the center.

Pounding to an even thickness takes two minutes and saves the whole batch. The module shows how thin is too thin, and where the probe should read before you pull them.

Module seven

Sliders

Sliders add a bun, and a bun changes everything. This module covers piece size, how much sauce to apply, and how to keep the bottom of the bun from going soggy. You will also build a quick slaw and a pickle slice that hold up under a hot, saucy piece of chicken.

Assembly order is the real lesson: sauce on the chicken, not the bread, and the slaw goes on the top half so the bottom stays dry.

Module eight

Wings

Wings have skin, joints, and their own rendering time. The lessons cover splitting, drying, and frying so the skin crisps and the meat stays moist. Then you glaze at the heat level of your choice, from mild to extra hot, and finish with the same pickle-and-bread logic used on the rest of the plate.

Skin wants a dry surface and a slightly lower fry than tenders. The module gives both temperatures and explains why a wet wing steams instead of crisping.

Module nine

Plating and serving

The final module is about assembly and timing. Hot chicken is best eaten right after it is sauced, so the lessons cover how to hold finished pieces, how to plate for a group, and how to keep white bread and pickles ready so service does not stall. There are also notes on reheating without destroying the crust.

For a crowd, fry in rounds and sauce each round as it comes out. The module walks through a two-hour plan for eight people without a cold plate on the table.

What you will be able to cook

By the end, you should be able to brine, dredge, fry, and sauce tenders, sliders, and wings at any heat level on the ladder. You will also have a sauce base you can adjust for your own kitchen and a plating method that keeps the crust crisp. That is the whole point: repeatable results, not one impressive batch.

  • A crust that holds

    Two-stage dredge, a short rest, and steady oil. The coating stays on the chicken instead of drifting to the bottom of the pot.

  • Sauce you can scale

    One paste base, adjusted by amount and by layered chilis, from mild up to Reaper-level for challenge cooking.

  • Three cuts, one method

    Tenders, sliders, and wings each get their own timing and plating notes, so you are not guessing which rules carry over.

  • A plate that travels

    White bread, pickles, and a holding plan so a group gets sauced chicken while the crust is still crisp.

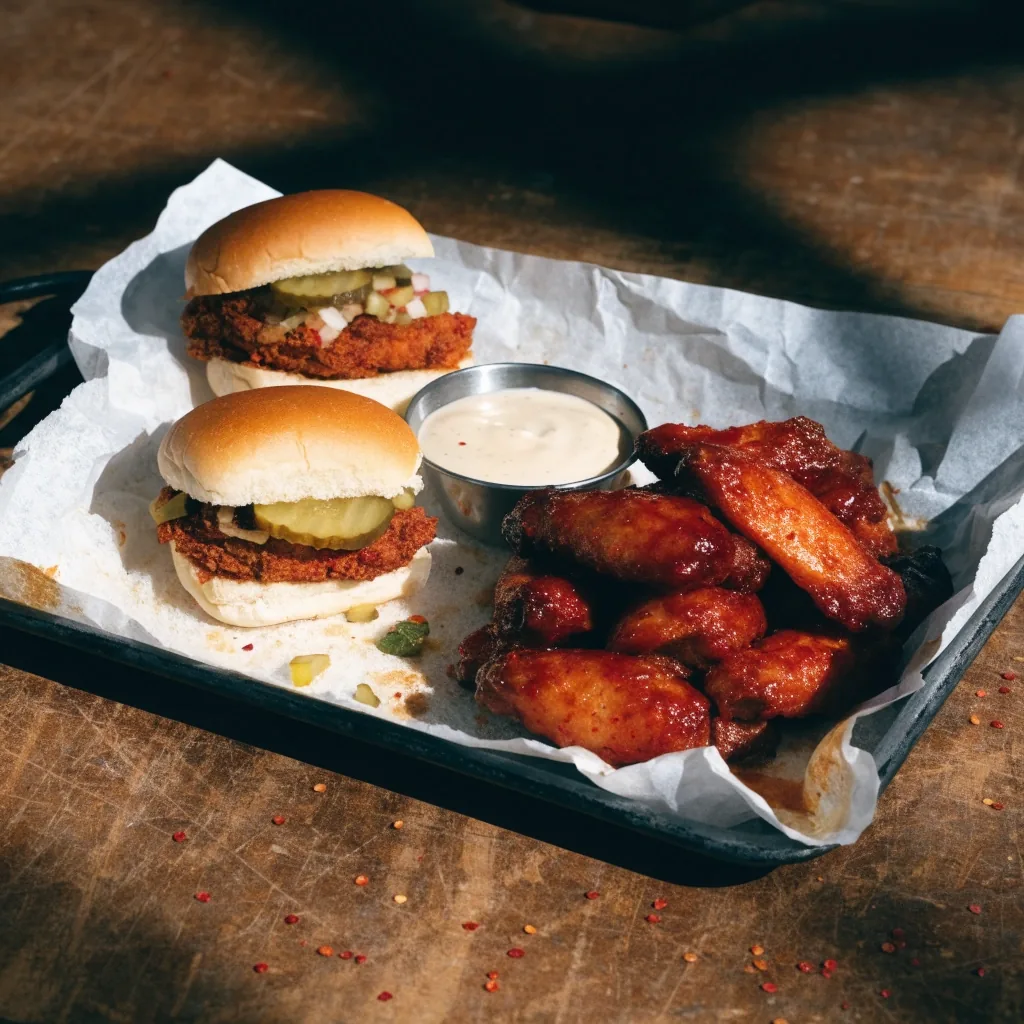
Nashville hot chicken sliders on white bread with pickles beside a pile of glazed wings

Sauce, bread, and pickle do as much work as the fry

White bread and pickles are not garnish. They catch the spiced oil, cut the heat, and let you eat with your hands, which is how this plate has always been served in Nashville. The modules treat them as part of the recipe, with notes on how much bread per piece and when to lay it down so it does not go limp.

Recipes for the paste, the spiced oil coating, the creamy slider sauce, and the wing glaze all live in the recipes section, with the measurements used in the lessons.

Browse recipes and techniques

Before you start module one

A few practical notes so the first fry goes well. None of this is a barrier to enrolling, and every lesson can be rewatched as often as you like.

Kitchen questions?

Call +1-323-555-0947 or email [email protected]. We answer Monday to Friday, 9:00 AM to 6:00 PM.

A thermometer is required

Clip-on or instant-read, either works. The fry module leans on exact oil temperature, and guessing by sight is the most common reason crust turns out greasy.

A wide, heavy pot

A Dutch oven or deep cast iron skillet holds heat better than a thin pan, so the oil recovers faster when cold chicken goes in.

Pick your starting rung

Start one level below your usual tolerance. You can always push a batch hotter, and the ladder module shows exactly how.

Plan for two hours

Brining takes the longest, and most of it is waiting. The first cook-through, start to plated plate, runs about two hours for one person.

Questions about the curriculum

The answers students ask for most before they enroll.

Do I need to follow the modules in order?

You can open any lesson at any time, but the sequence is built to be followed. Modules three through five assume your fry is already reliable, and the format modules assume you have a paste and a sauce base to work with. If you jump ahead and something tastes off, the earlier module usually explains why.

How long does each lesson run?

Lessons are short and built around one technique each, so you can watch one before a cook and not lose an evening. The brine and dredge lessons are the longest because they carry the most detail. Every lesson is rewatchable and stays available for as long as you have access to the course.

Is Reaper-level heat something I have to cook?

No. Reaper-level is the top of the ladder and is taught as an extreme tier for challenge cooking. Most students cook mild, medium, or hot for regular meals and treat extra hot and Reaper as something to try once, with company, and plenty of bread and pickles on hand.

What equipment do I actually need?

A wide heavy pot, a thermometer, tongs, a wire rack, and a tray for resting. A second shallow dish for the dredge helps but is not required. Nothing in the course depends on a deep fryer, an air fryer, or a pressure cooker.

Can I cook the whole course in one weekend?

You can watch it that fast, but the cooking is better spread out. Each module asks you to fry at least one batch and adjust based on what you taste, and your oil temperature control improves with repetition. Two or three sessions a week is a comfortable pace for most students.

Home cook plating Nashville hot chicken on white bread with pickles in a warm kitchen at dusk

Start with module one and cook the first batch this week

Enrollment opens the full curriculum, the recipe library, and the heat ladder guide. If you are not ready to enroll, start with the brine and the bird, fry one batch of tenders, and see how the process feels in your own kitchen.

Wings Snob · 2801 W Sunset Blvd, Los Angeles, CA 90026, USA · Monday to Friday, 9:00 AM to 6:00 PM